Original Series BattleStar Galactica BaseStar
(Part 1)
Over the years I managed to collect several of
the ancient Monogram BSG Cylon BaseStars. While the Galactica kit is
generally considered pretty bad, the BaseStar was no gem either. It was relatively
OK for surface detail on the tops and bottom sides of the saucer sections, but
the vertical surfaces for the central core were quite visibly blank.
Another issue was the overall shape. From simple height to width
ratios, the saucer sections appear too tall for their width. Regarding the height to width of the saucer
sections, I’m still debating how worthwhile that is. In sum, the areas I choose for improvement
were:
1)
The outer launch bay
trench “bridge”
2)
The central column
lack of details
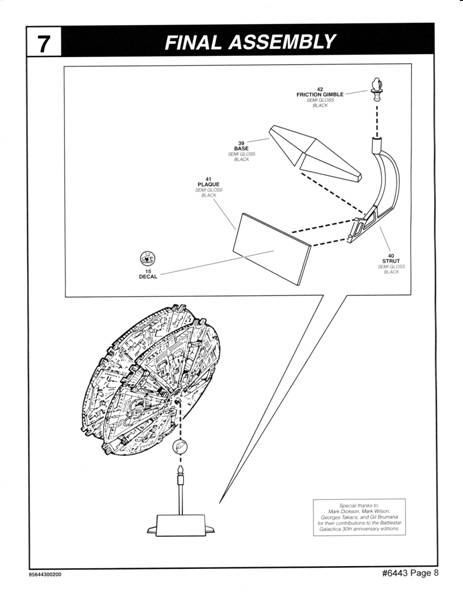
This page details what I did, the results, and
some of the aftermath of creating those detail parts. An essential tool
was the release of the complete BSG OS on DVD—all the screen caps below are
from that set. While making these
improvements, I had to be aware of how much detail I could add. This kit has serious draft angle
issues, and these limit how much detail the overall kit has. With the amount of detail I can get by freeze
framing and zooming in on a good DVD shot, I could easily find and build a ton
of detail into the upgrades. If I did
that, though, it would have outdone the detail on the rest of the kit and
looked odd on the kit. On the plus side,
there is a lot of detail I can create using scribed geometric designs and
simple geometric shapes cut from sheet styrene, or from scrap tank/airplane
parts like the studio model was built from.
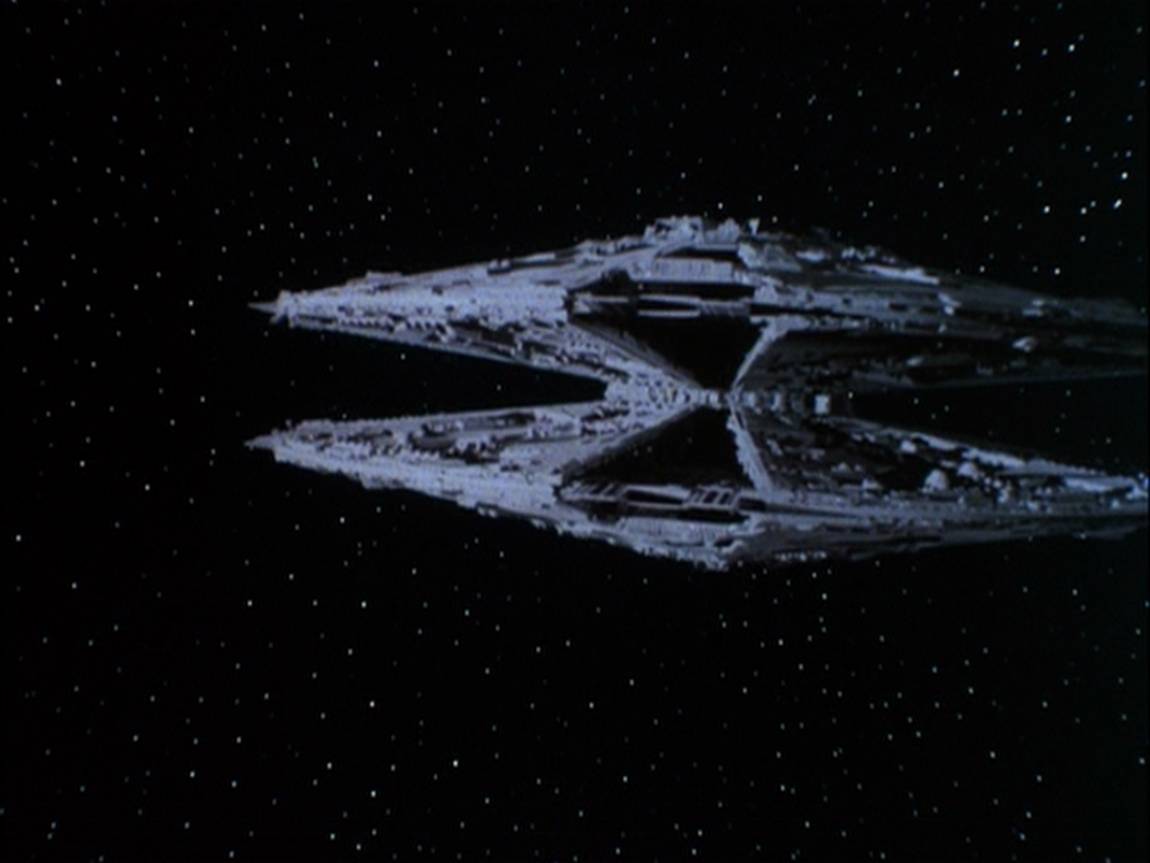
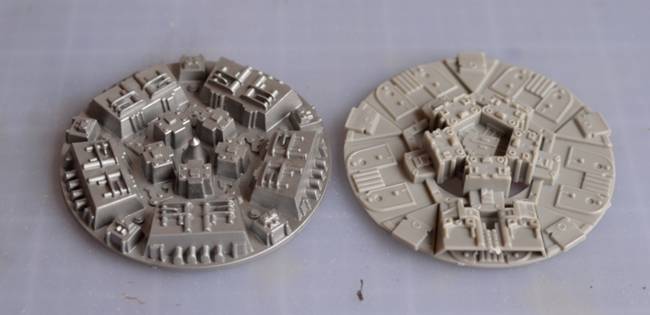
First, the basic geometry of the BaseStar. It
consists of 2 stacked, flattened saucers each with 5 distinct, repeating trench
sections. Viewed from the top, this present a starfish like or spoke
pattern.

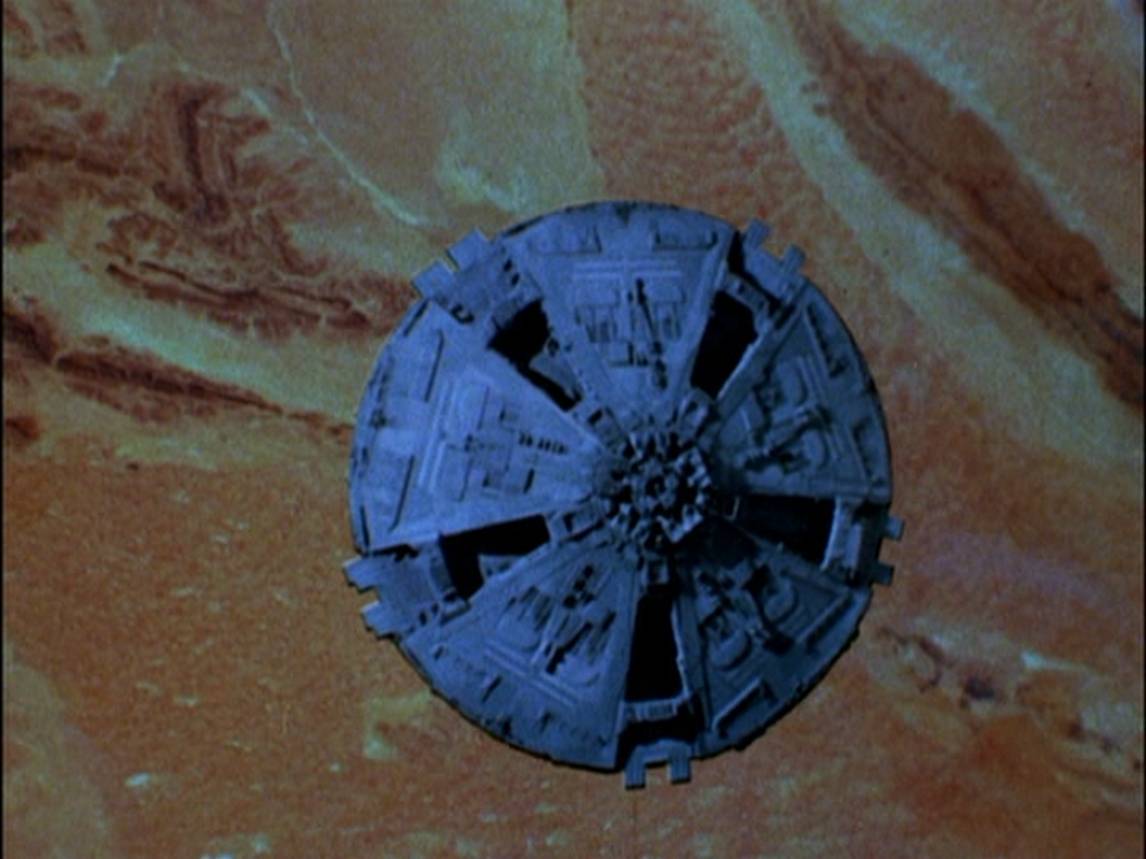
In usage, the outer 10 trenches (5 top and 5
bottom) are used for launching the iconic (if somewhat slow and ponderous) Cylon Raiders. The inner
trenches were used for recovery of the fighters, assuming any returned.
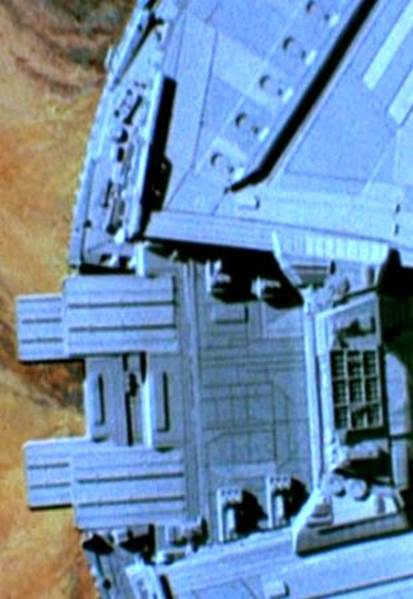
Aside from the 4 saucer halves, the kit has two detail pieces per outer
launching trench. The first is a small wedge shaped piece at the hub,
which I left pretty much alone. The second is a bridge like piece near
the rim of the saucer, circled above. The "bridge" was the
first thing I tackled. After extensive viewing of the few detail scene
shot (along with numerous screen grabs) I was able to identify a number of
places where the kit part was fairly crude compared to the studio model.
Here's a short list of the kit bridge issues. To keep it simple, my
directional references are based on looking at the top saucer in from the outer
edge.
- It was hollow
on the bottom, and from certain viewing angles it was obvious.
- It sat on top
of the trench walls. The studio version was actually inset.
- Two extensions
off the back side were missing.
- It was largely
symmetrical; as a general rule the 5 repeating sections of the BaseStar
were identical, but NOT symmetrical.
- The pads where
the bridge attached to the canyon edges were significantly undersized.
- The back side
was largely flat.
- Vertical
surface detail was missing, largely due to draft angle
issues.
Another few screen grabs to highlight the studio details:
Using the kit bridge as a template, I
scratch built newer, more accurate bridges based on DVD screenshots. A few details were scavenged from the kit
parts (essentially the three grid boxes), but over 90% of the replacement is
scratch. The master was used to make an
RTV mold, and copies were cast.

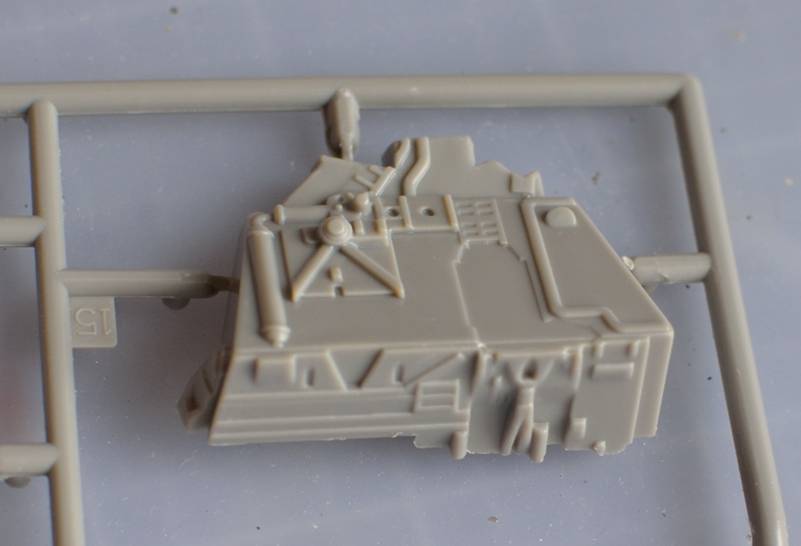
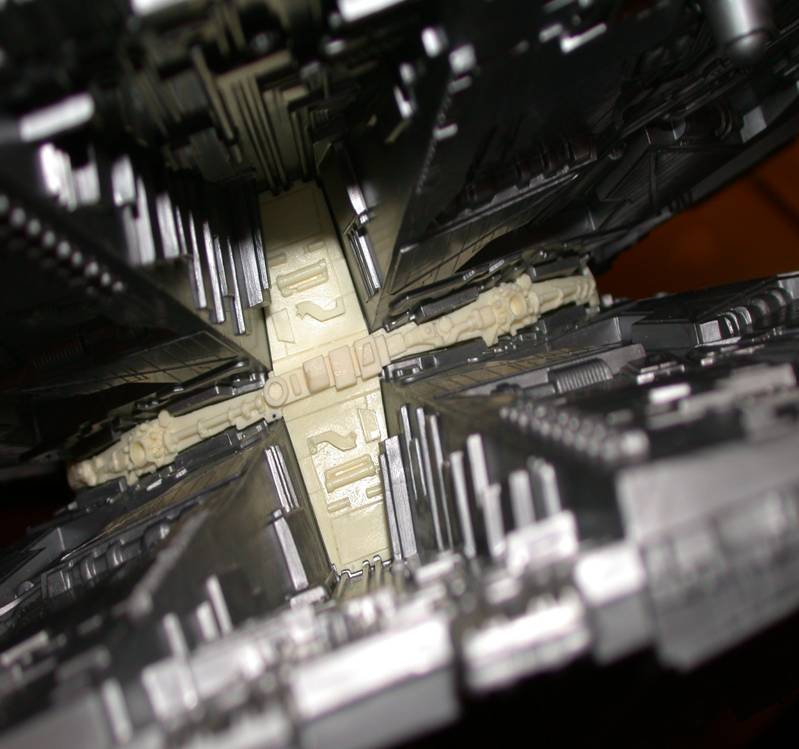
Next on my list was the blank central
column. Again, and like the Galactica
kit, vertical surfaces on the saucer interior are the victim of draft angle
problems and are completely smooth. This
area cries out most for attention; even if the other parts I'm fixing are
poorly detailed, at least there is
detail! The blank areas are highly
visible, and that part of the ship has some fairly cool details, like hangar
bay doors and some big cannon/missile launcher thing. I’ve had 3 of these kits,
and the joint between the top and bottom saucers is usually warped, especially
on older kits. Something had to be
done...
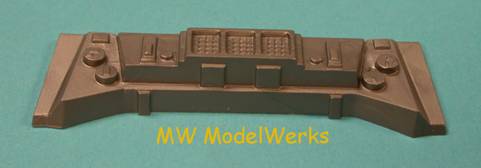
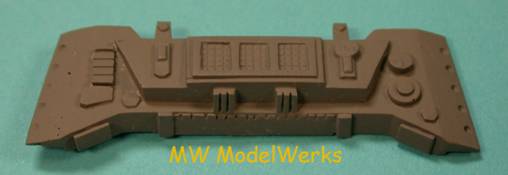
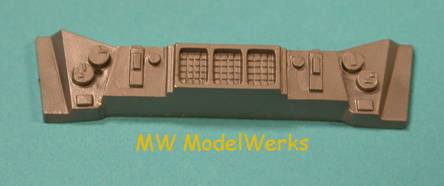
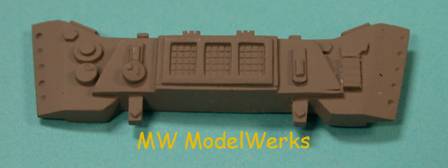
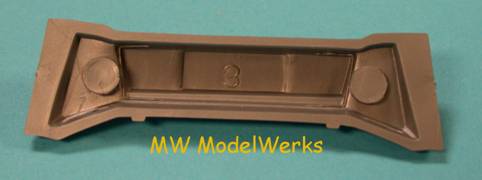
My method for fixing this was to make
a blank piece of styrene that fit the jagged outline between saucers, and then
I added detail as I saw it from the screen caps.
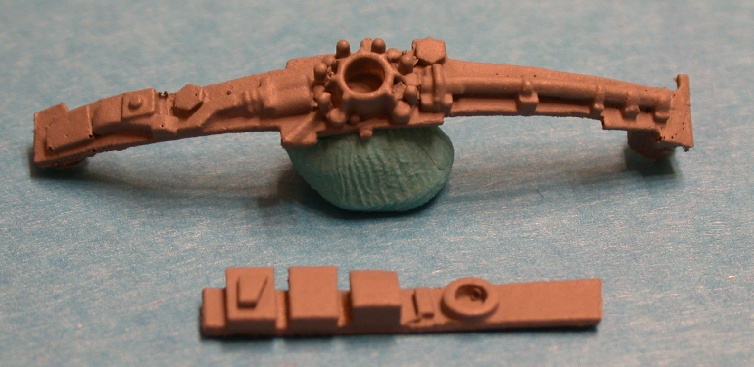
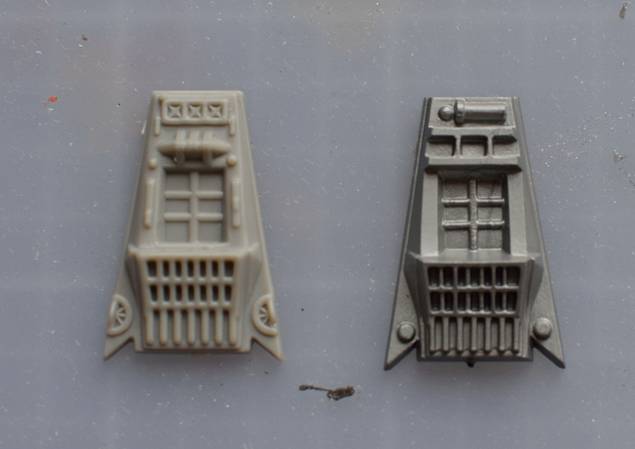
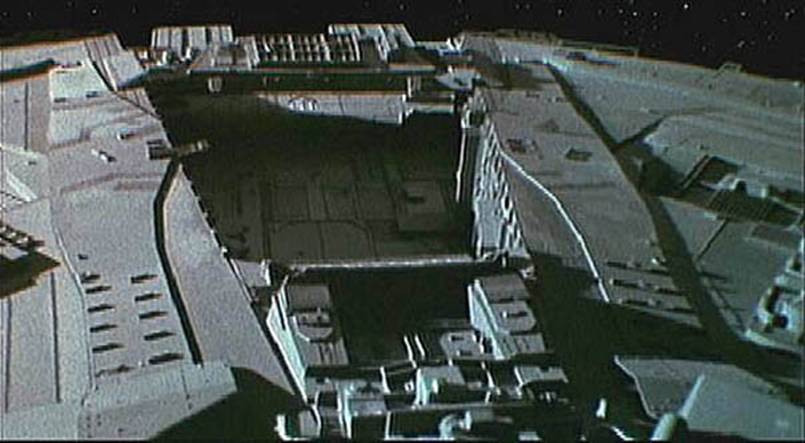
I designed the parts to not only fill in detail but to cover up
and fix the between-saucer seam. This
resulted in a plate for the trench end wall (note hangar door near the narrow
end), and 2 "belt" pieces to cover any gaps between the top and
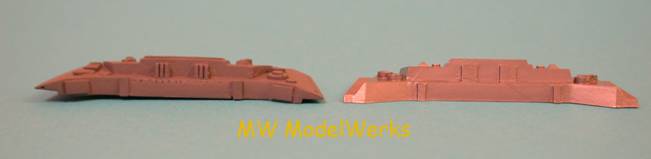
bottom end plates or the saucers. These
parts were completely scratch built based on DVD screenshots. The parts were cast back in the days before I
was more skilled at resin copies—those air bubbles would not be there today.
This constituted three pieces.
First, an “end of the canyon” trapezoid piece, which
included the hangar door. The
other two pieces were the belt pieces, seen very clearly in the above screen
cap. The results are shown below.
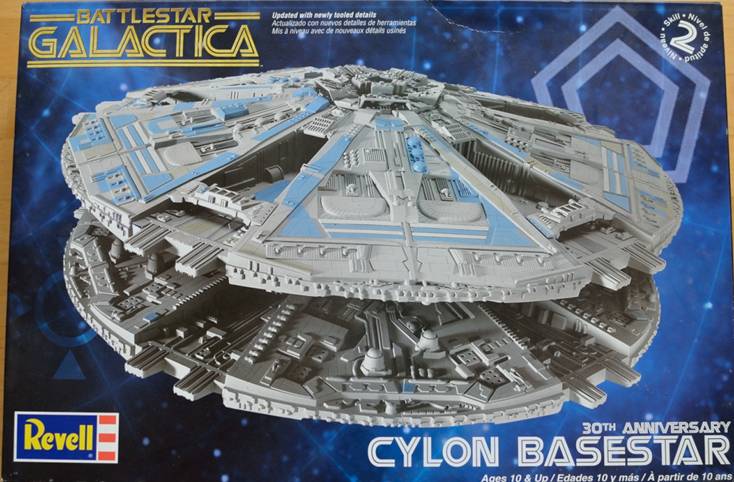
Aftermath
I originally did this work back in the 2004-2005 timeframe. The original Monogram molds had been picked
up by Revell, which decided to do a 30th anniversary re-release of
the original Monogram kits. It turns out
my detail parts, among others, attracted the attention of Revell, which used
them as masters for new detail parts in the 30th anniversary edition
kit. The end result is I was credited in
the 2008 re-release of the kit as contributing to the updated kit (itty bitty
print on the bottom right)!
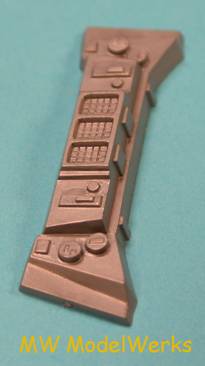
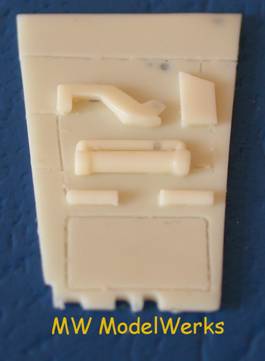
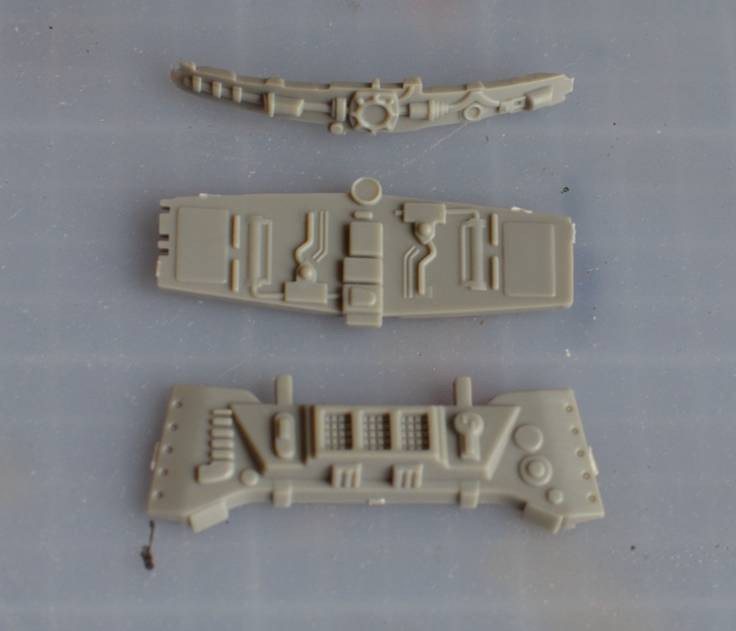
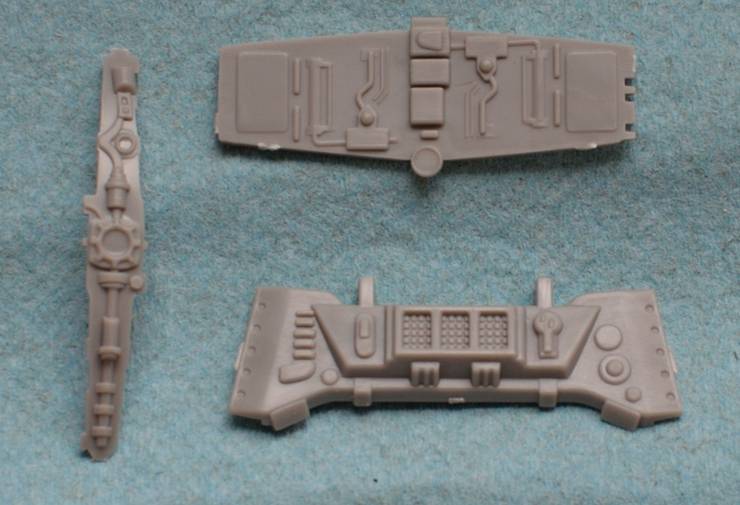
Here are the new detail parts.
Revell stepped up their game on the re-issue. As can be seen, there were some concessions
to injection molding versus what I could do in resin—three parts combined to
one, detail flattened out. The bridge
pieces are most direct copies of my masters…
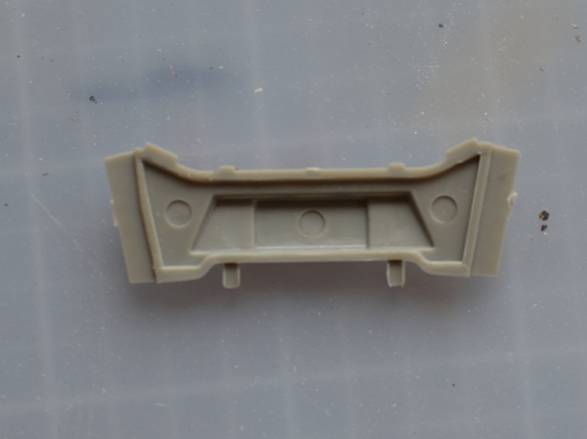
…and they still left this part hollow, though it is now
correctly inset.
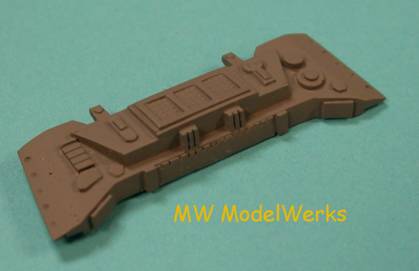
Here are some shots of the parts I didn’t work on, which are
definitely nice improvements, including a whole new mega pulse cannon
thingy. The older parts are in that
hideous metallic tinted plastic.